
TUTORIALS

Workspace
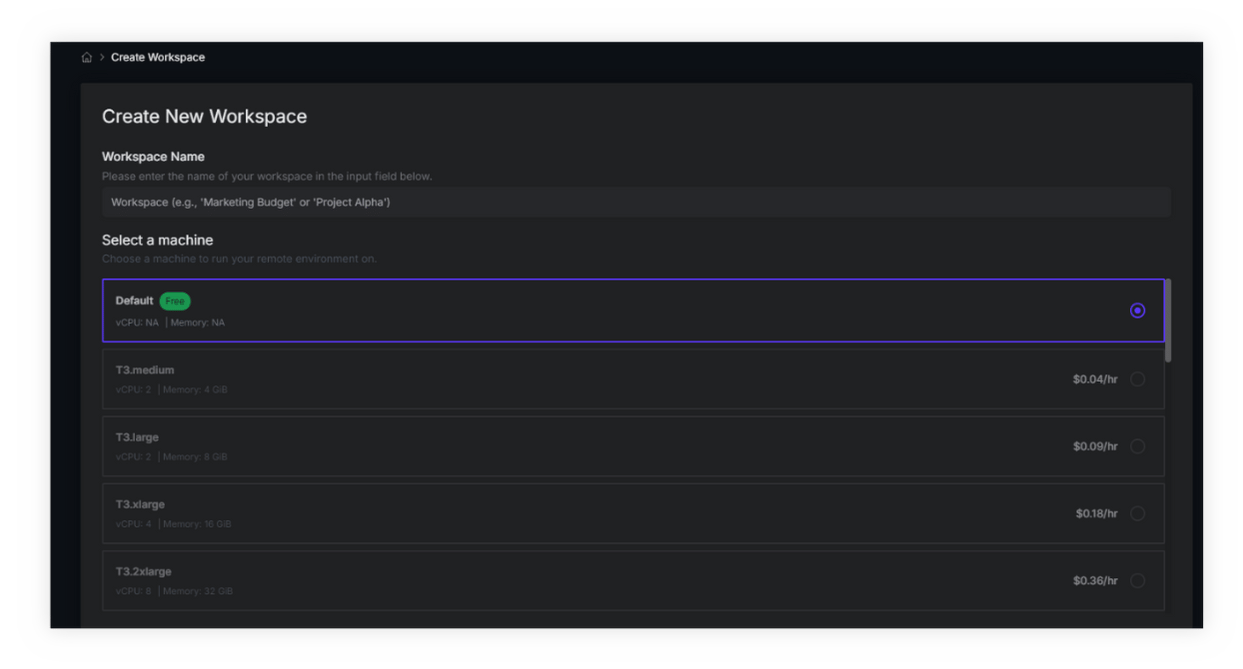
Create a new workspace
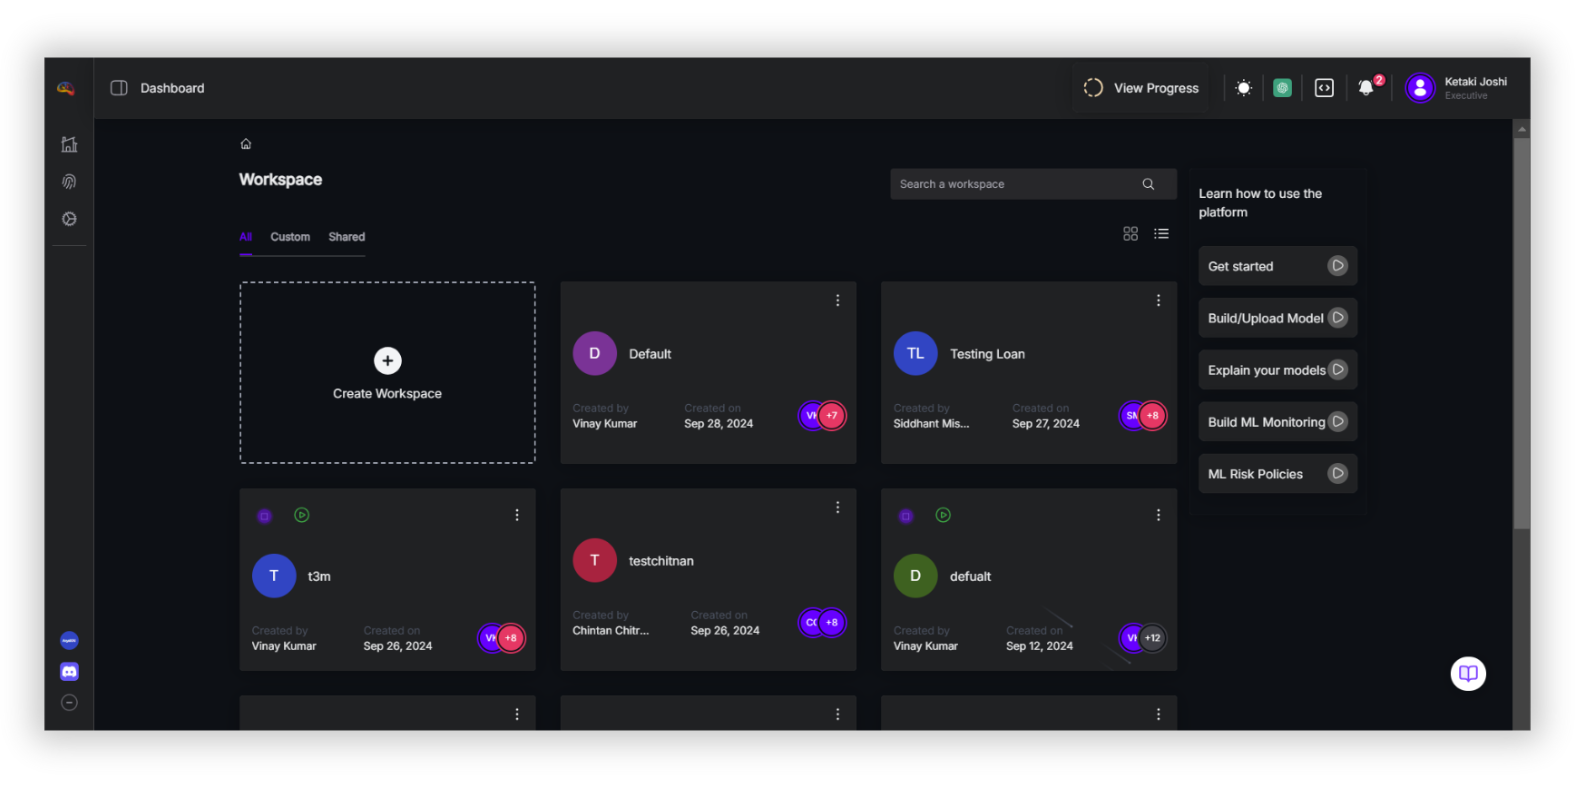
To create a new workspace, navigate to the ‘Create workspace’ on the dashboard. Provide a name for the workspace and select the machine you want to run your remote environment on. Once submitted, the newly created workspace will be displayed on the dashboard, featuring details such as the workspace owner, creation date, time and the people who have access to the workspace.
The three dots on the top right right corner of the specific workspace provide additional options to invite and manage team members, modify workspace settings and also to delete the workspace.
Workspace Settings
The workspace settings section provides the ‘Profile settings’ tab where you can rename or delete the workspace, and the ‘Workspace Server settings’ where you can change the machine you are running your remote environment on.

Project
Upon accessing a workspace, a list of all the projects within the workspace will be displayed. A project represents the ML use case you want to solve eg. Loan status prediction, house sale prediction.
Project Types
AryaXAI supports multiple project types tailored for different data modalities. When creating a new project, users can choose from the following data types based on their specific requirements:
1. Tabular
Tabular data projects focus on structured datasets that are typically stored in spreadsheets or relational databases. These datasets consist of rows and columns containing numerical or categorical data.
2. Image
Image data projects specialize in processing visual information, enabling tasks such as image categorization, segmentation, and image generation.
3. Text
Text data projects process textual information to perform tasks such as text classification, semantic understanding and content generation.
Create a new project
Tabular data project
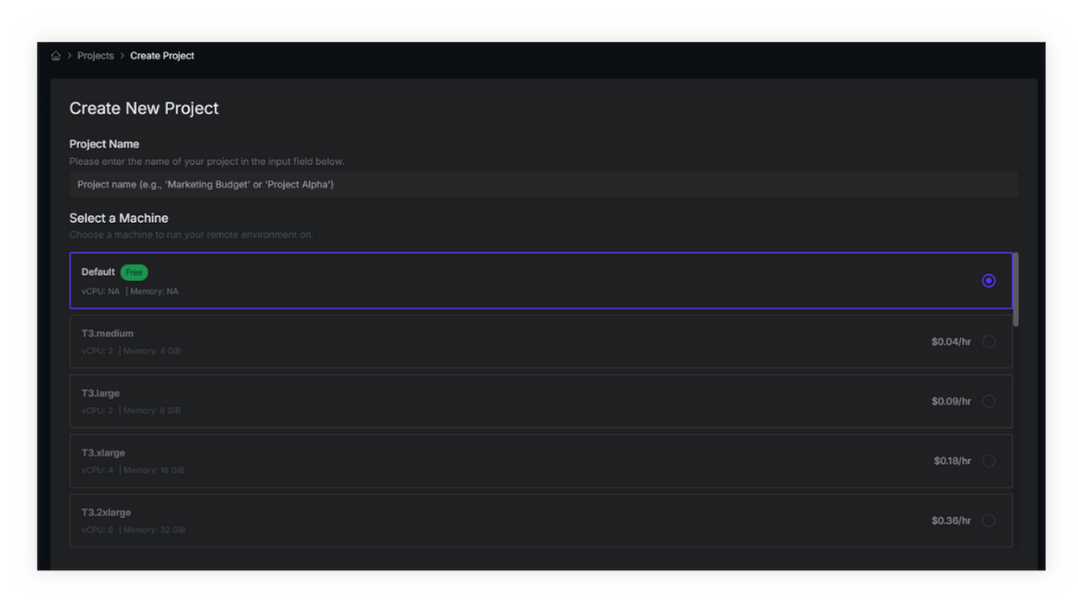
To create a new tabular data project:
- Select the ‘Create New Project’ option within the desired workspace.
- Define a name for the project and choose Tabular as the project type based on your data modality.
- Select the machine learning task:
- Classification – Assigns data points in structured datasets to predefined categories or labels.
- Regression – Models relationships in structured datasets to predict continuous numeric outcomes.
- Choose the machine to run your remote environment.
- Select the compute resources for inferencing.
- The project details will be displayed on the dashboard, including the project owner, creation date, and time.
Note: The file size limit for the initial upload is based on your subscription plan.
Create a new Image data project
To create a new image data project:
- Select the ‘Create new project’ option within the desired workspace.
- Define a name for the project and select the project type (Image in this case).
- Select the machine learning task:
- Classification - Categorizes entire images into predefined classes based on their content. Ideal for tasks like identifying objects, animals, or medical conditions in images.
- In the ‘Select compute for the project’ option, select the machine you want to run your remote environment on
- Select Compute for inferencing
- Upload the model file with the .h5 extension.
- Configure the model with the following details:
- Model Name
- Model Architecture Type: Deep Learning
- Model Type: TensorFlow
- Configure the model with the following details:
- Upload the dataset in .zip format.
- Configure the data upload settings:
- Upload Type: Data
- Tags
- Configure the data upload settings:
Note: The file size limit for the initial upload is 50 MB.
The project details will be visible on the dashboard, including the project owner's name, creation date, and time.
Project Settings
Under the ‘Actions’ column, users can effortlessly edit the project name or delete the project.
The three-dot menu on the right provides access to further project settings, where users can adjust the compute type, clone the project, or delete it.
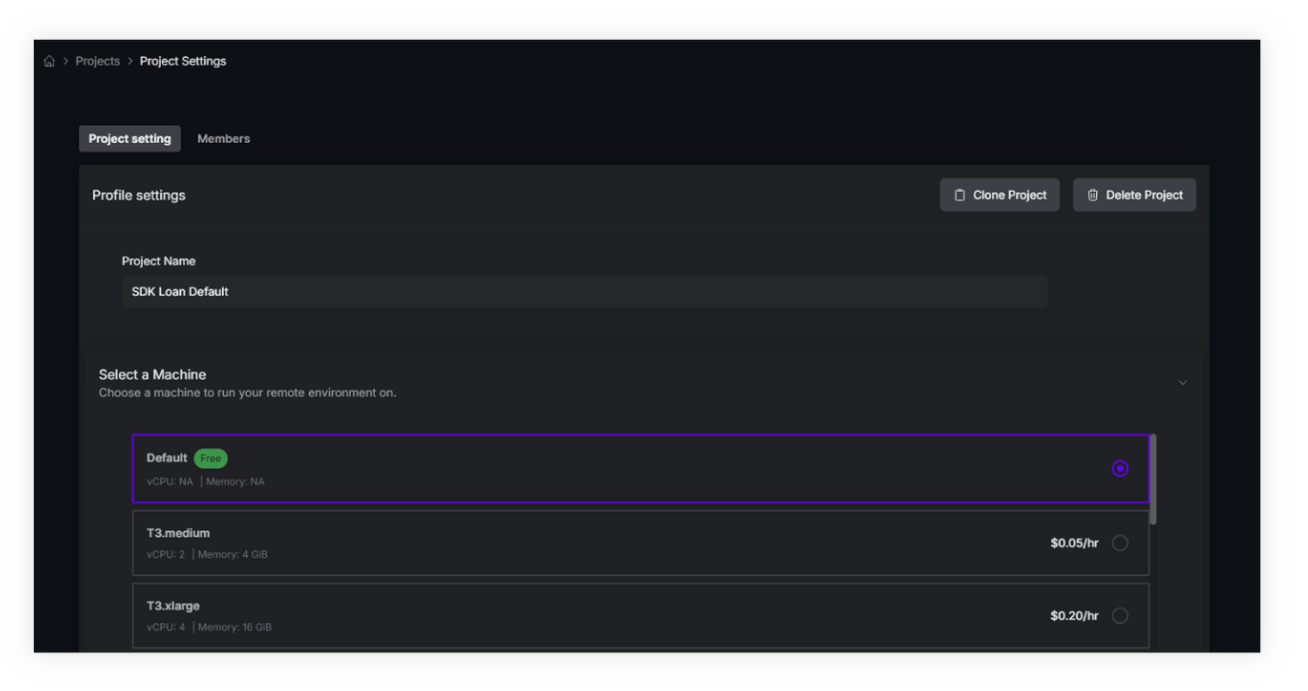
Clone a project
The Clone Project functionality in Project Settings allows users to replicate existing projects, simplifying the process of reusing and modifying project configurations. Simply select 'Clone Project' on the right, choose the workspace type—new, current, or existing—and from the list pick the components you want to replicate, such as Data Tags, Monitors, Observations, Policies, Files, Dashboards, Case Logs, and Synthetics.


Follow Us


